
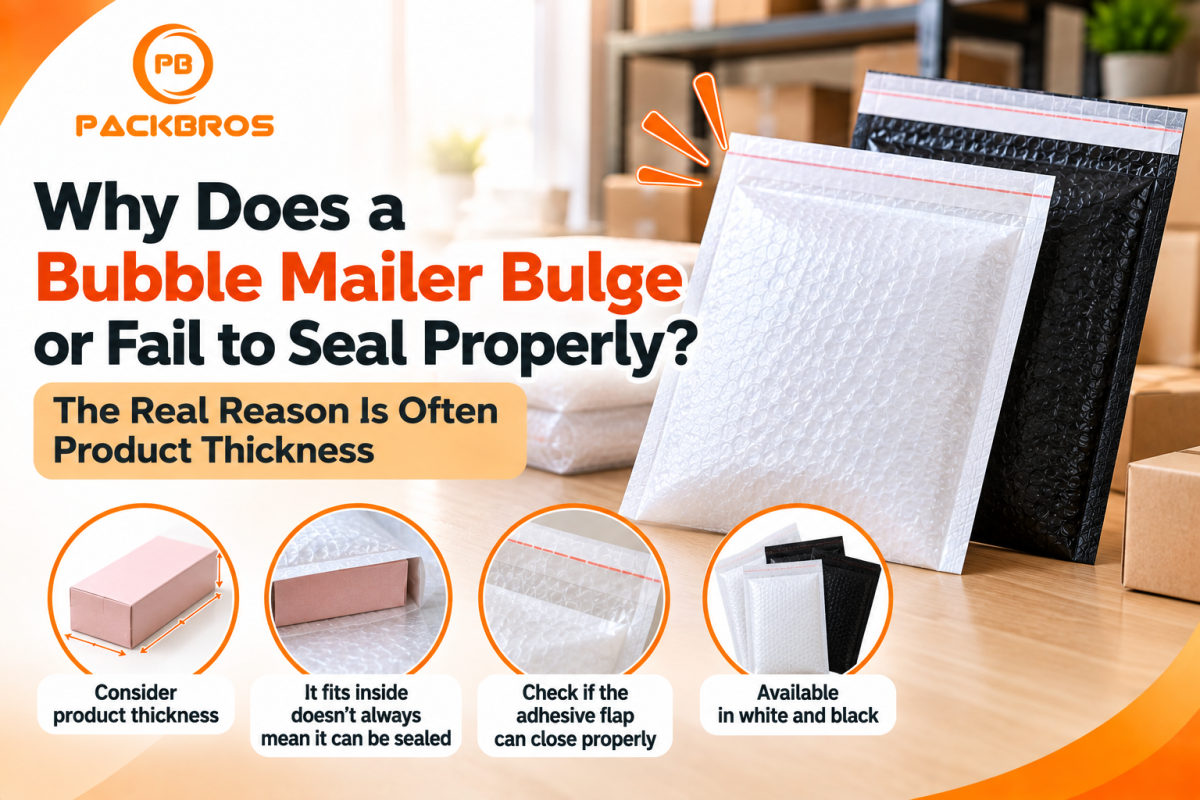
Why Does a Bubble Mailer Bulge or Fail to Seal Properly?
You measure your product, choose a bubble mailer that appears large enough, and expect it to fit.
But when you actually place the product inside, the mailer bulges, feels too tight, or the adhesive flap cannot close properly.
Why does this happen?
One of the most common reasons is that the product was measured only by its width and length, while its thickness or depth was overlooked.
Bubble mailer sizes are generally described while the mailer is lying flat. Once a thick product is inserted, part of the available space is used to wrap around the sides of the product.
As a result, the usable internal space can become smaller than expected.
1. Product Thickness Uses Part of the Mailer’s Available Space
Imagine placing a rectangular box inside a flat bubble mailer.
The mailer cannot simply remain flat. It has to expand around the front, sides, and back of the product.
That means part of the mailer’s width is effectively used to accommodate the thickness of the item.
This explains why two products with the same width and length may not fit equally well if one is significantly thicker than the other.
For flat products, selecting a mailer is usually more straightforward.
For thicker or box-shaped products, however, width × length alone may not be enough.
2. “It Fits Inside” Does Not Always Mean “It Can Be Sealed”
Another common situation is:
The product fits inside the bubble mailer, but the adhesive flap cannot close properly.
When a thick product causes the mailer to expand, some of the mailer’s usable length is also affected.
After pushing the product fully inside, there may not be enough space remaining near the opening for the adhesive flap to make proper contact.
This can result in:
- An adhesive flap that barely reaches
- A mailer that becomes excessively tight
- A smaller adhesive contact area
- A flap that cannot close at all
When testing a bubble mailer size, therefore, do not ask only:
“Can the product fit inside?”
Also ask:
“Can the flap close comfortably and securely?”
3. Avoid Choosing the Smallest Possible Mailer Just to Reduce Packaging Cost
Choosing a mailer that closely matches the product size can help reduce excess packaging.
However, choosing one that is too tight can create another cost: packing time.
Employees may need to push the product into the mailer, reposition it several times, or add extra tape because the adhesive flap does not close properly.
For businesses packing hundreds of orders per day, a few additional seconds per package can accumulate into a significant amount of labor time.
The lowest-cost mailer per piece is therefore not automatically the lowest-cost packaging solution overall.
Packaging speed should also be considered.
4. Box-Shaped Products Need Extra Attention
Flat products are generally easier to fit into bubble mailers.
More attention is needed for products such as:
- Cosmetic boxes
- Small spare-part boxes
- Accessory boxes
- Gift sets
- Small rectangular retail packages
- Other products with significant thickness
Even when the front dimensions of the box appear smaller than the bubble mailer, its depth can make the mailer much tighter once inserted.
For these products, testing the actual product with a sample mailer is particularly useful.
5. Should You Increase the Width or Length of the Bubble Mailer?
It depends on where the fit problem occurs.
If the product is difficult to insert or the sides are extremely tight:
Consider a wider mailer.
If the product fits inside but there is not enough room to close the adhesive flap:
Consider additional usable length.
If both insertion and sealing are difficult:
A larger overall mailer size may be more appropriate.
There is no universal rule that says every product needs exactly a certain number of extra centimeters.
Product shape, thickness, flexibility, and packaging requirements all affect the final fit.
6. Measure Width × Length × Thickness
A more useful approach is to measure the product in three dimensions:
Width × Length × Thickness
Then test the actual product inside the bubble mailer.
During the test, check the following:
Is the product easy to insert?
Employees should not have to force the product into the mailer.
Does the mailer become excessively tight?
A very tight fit may make the packing process slower.
Can the adhesive flap close properly?
There should be enough room for the flap to make appropriate contact.
Can employees pack repeatedly at a practical speed?
A mailer that works for one test package may still be inconvenient when employees need to pack hundreds of units.
7. Can Multiple SKUs Share the Same Bubble Mailer Size?
Yes.
A business does not necessarily need one bubble mailer size for every individual SKU.
Products can sometimes be grouped into several packaging sizes.
For example:
Small product group → Mailer A
Medium product group → Mailer B
Large product group → Mailer C
This can reduce the number of packaging SKUs that need to be stocked in the warehouse.
However, each product should still be tested.
Do not group products together based only on their listed width and length, especially when their thicknesses are different.
8. Should You Test a Sample Before Ordering Bubble Mailers in Bulk?
For new products or large-volume packaging orders, testing samples first can reduce the risk of selecting an unsuitable size.
This is particularly important when the product:
- Is relatively thick
- Has an irregular shape
- Has protruding parts
- Requires a close-fitting package
- Will be packed in large quantities every day
The test should also go beyond simply checking whether the product physically fits.
Have the packing team test several units and evaluate the complete workflow:
Insert → Position → Close → Seal
If employees can repeat these steps easily and consistently, the mailer size is more likely to work well in daily operations.
White and Black Bubble Mailers for Business Packaging
PackBros supplies white and black bubble mailers for online sellers, warehouses, and businesses that need protective packaging for shipping.
When choosing a bubble mailer, consider not only the listed mailer dimensions but also the width, length, thickness, and shape of the actual product.
Businesses with multiple SKUs can also test several products against a smaller set of standardized mailer sizes to simplify packaging inventory.
Summary
If a bubble mailer bulges, feels too tight, or the adhesive flap does not close properly, the problem may not be the listed width and length alone.
Product thickness matters.
A simple rule to remember is:
Don’t measure only width × length. Check width × length × thickness.
Before placing a large order, test the complete packing process with the actual product.
A suitable bubble mailer should not only hold the product — it should also be easy to load, easy to seal, and practical for repeated packing.
Frequently Asked Questions
Why does my product fit inside the bubble mailer but feel too tight?
The thickness of the product uses part of the mailer’s available space as the material wraps around the sides of the item. This reduces the usable internal width compared with the mailer when it is lying flat.
Why can’t I close the adhesive flap even though the product fits?
A thick product can cause the mailer to expand and reduce the space available near the opening. The product may physically fit inside while leaving insufficient room for the adhesive flap to close properly.
What measurements should I take before choosing a bubble mailer?
Measure at least width, length, and thickness. For irregularly shaped products, testing the actual item inside a sample mailer is recommended.
Is a tighter bubble mailer always better?
No. A mailer that is too tight can make insertion and sealing slower. The goal is to balance product fit, protection, packaging material usage, and packing efficiency.
Do I need a different bubble mailer size for every SKU?
Not necessarily. Multiple products may be grouped into a smaller number of standard mailer sizes, provided each SKU has been tested for fit and sealing.